
From Concept to Completion: The Fleet Wrap Process Explained
The Fleet Wrap Process Explained
From Concept to Completion: The Fleet Wrap Process Explained
Fleet wraps are one of the most effective ways to advertise your business on the go. Whether you own a small business with a single vehicle or a large company with a fleet, custom vehicle graphics can significantly enhance your brand visibility. In this comprehensive guide, we will take you through the entire fleet wrap process, from concept to completion. We will provide insights into each step, ensuring you know what to expect when you decide to invest in fleet wraps for your business in the Denver area.
## What Are Fleet Wraps?
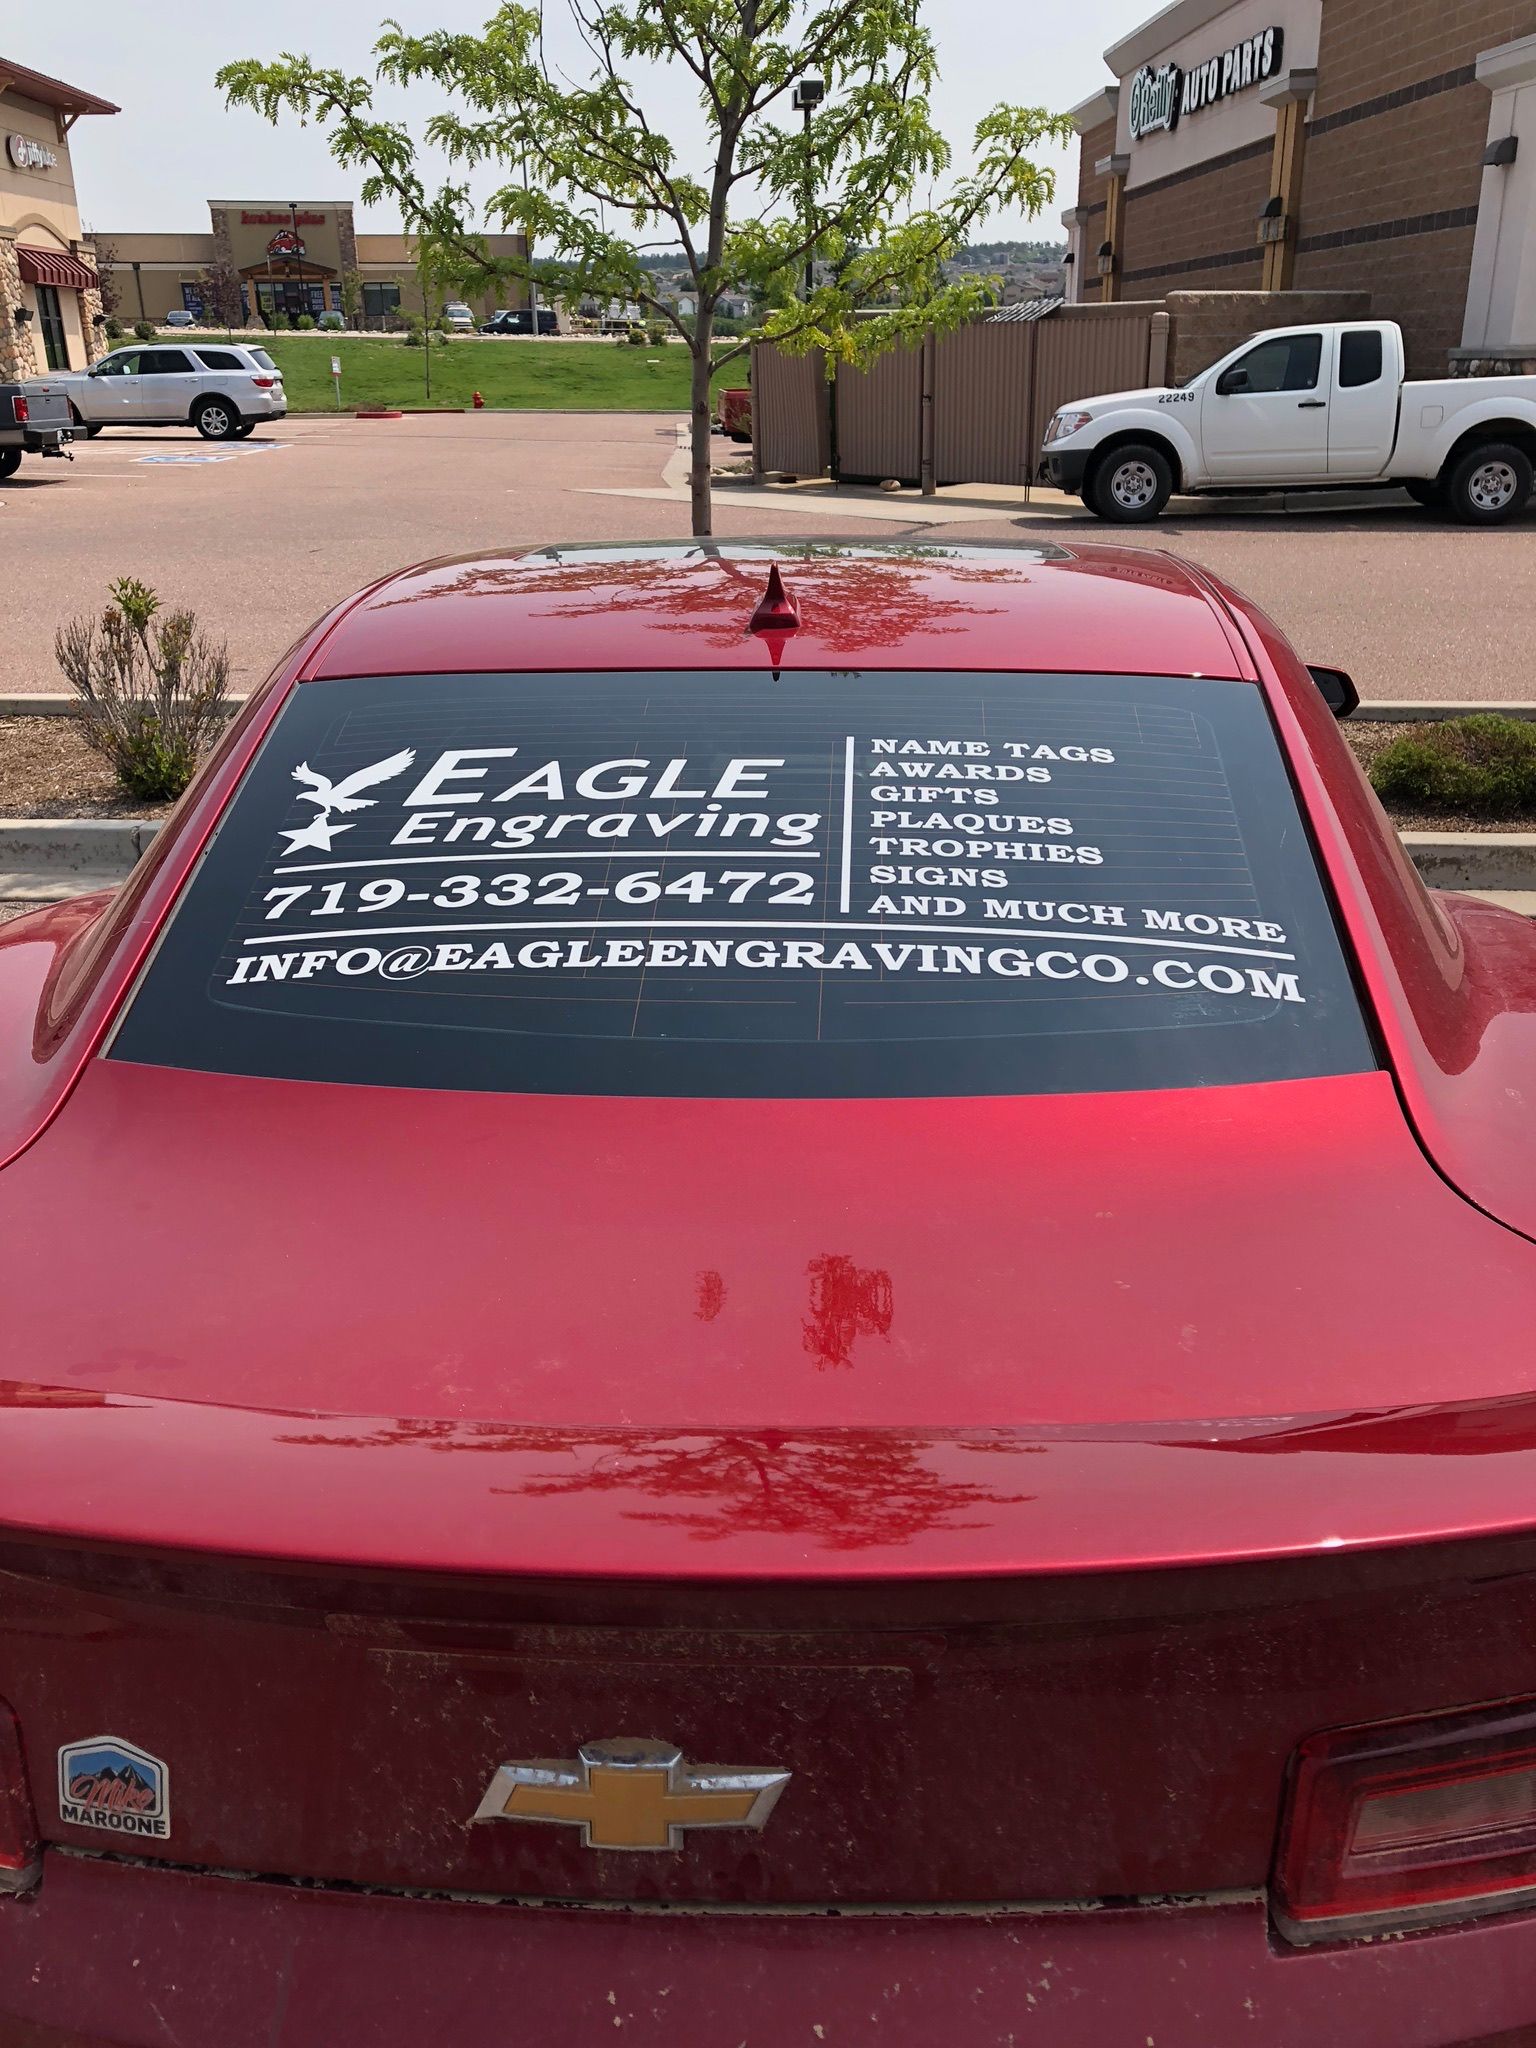
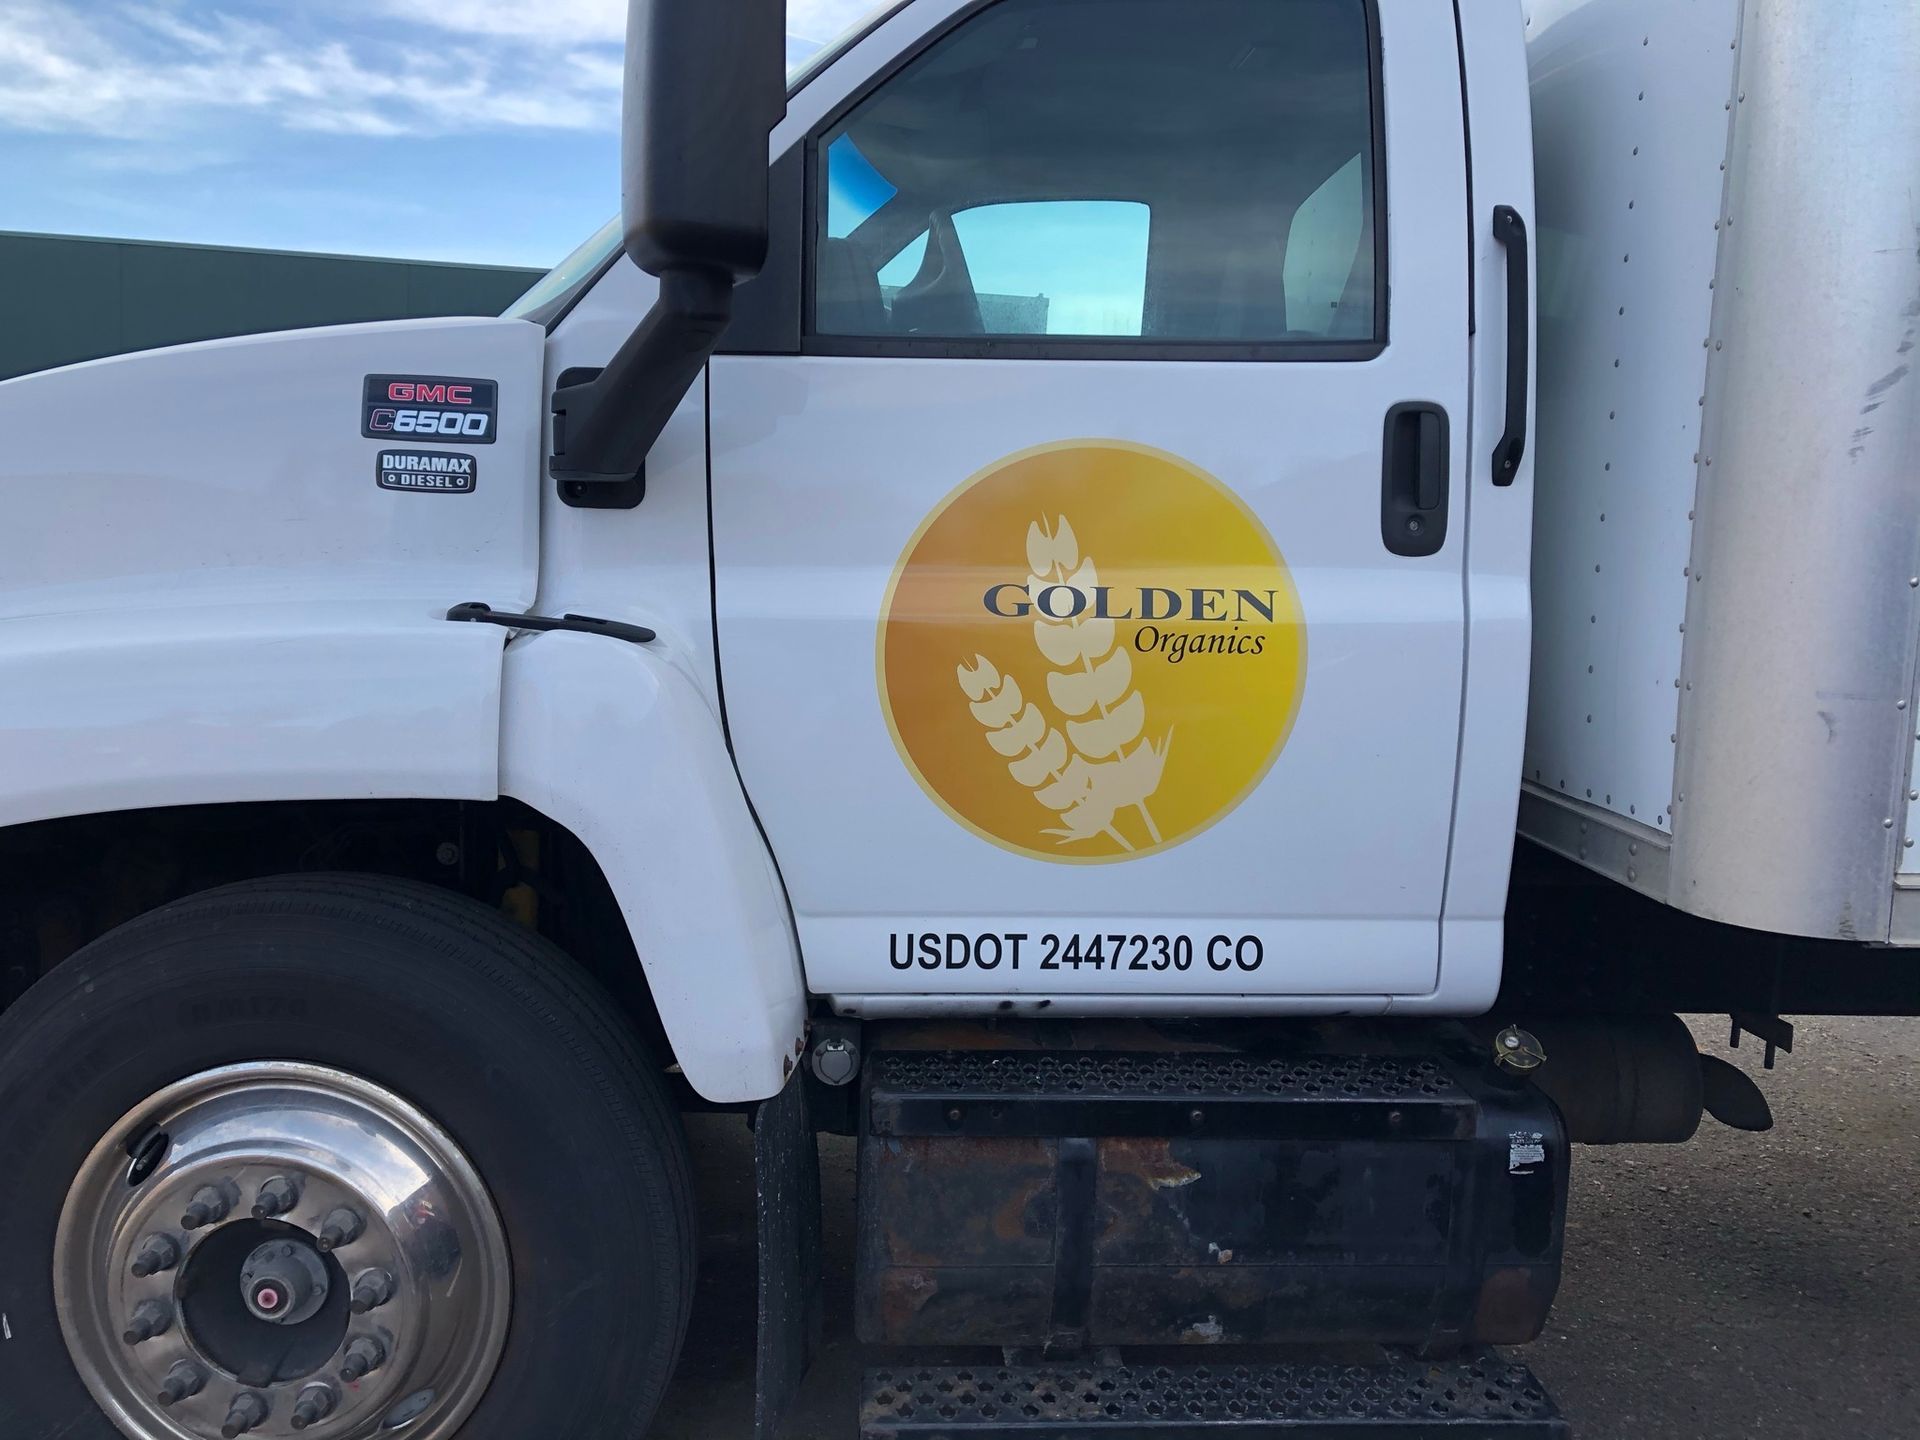
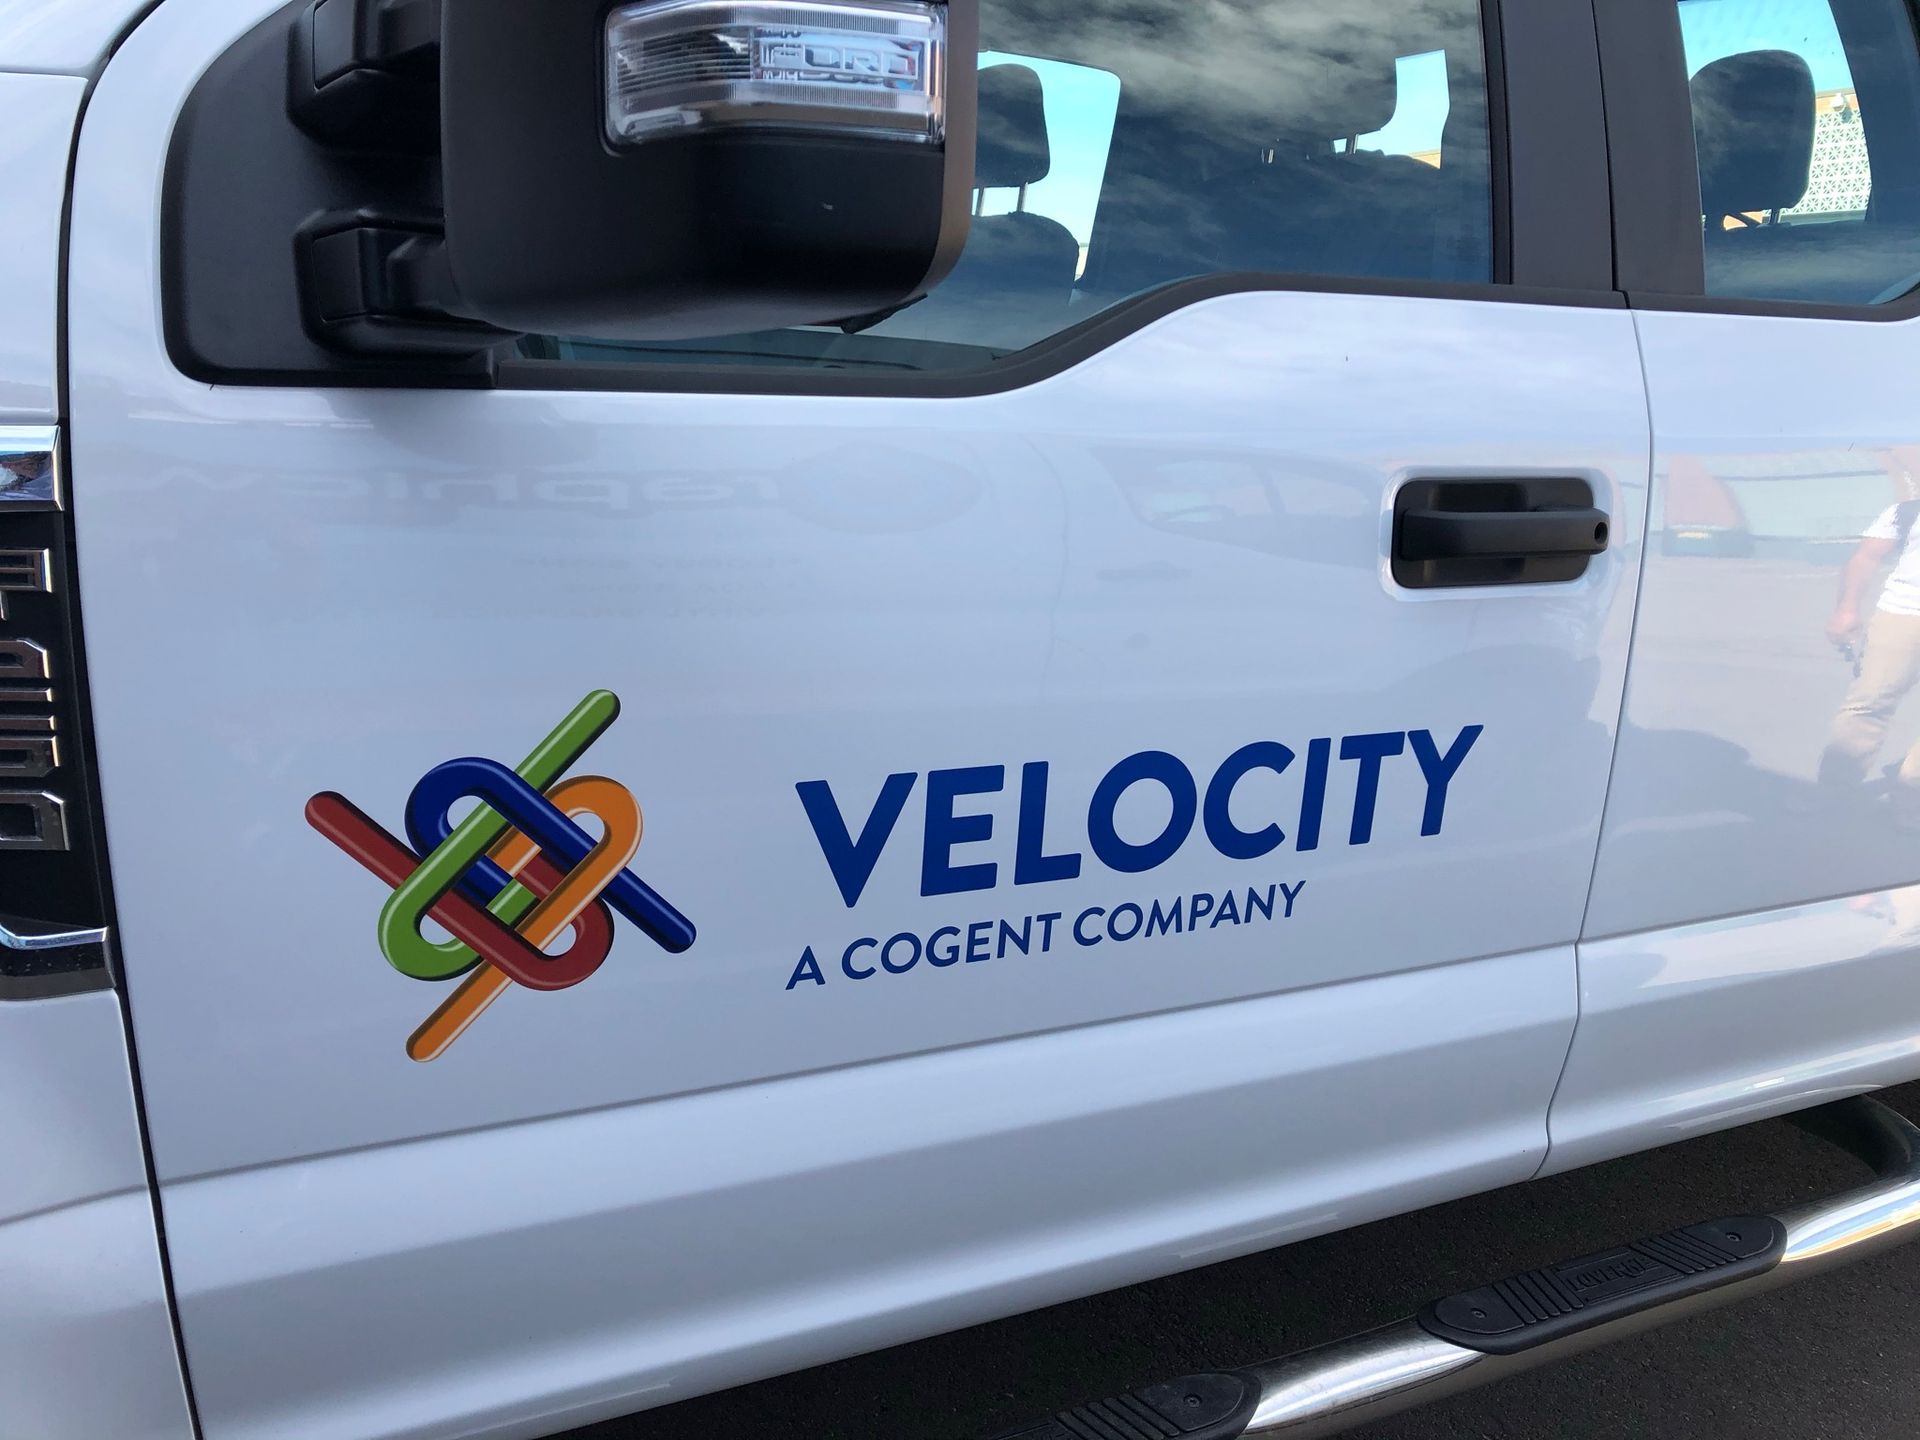
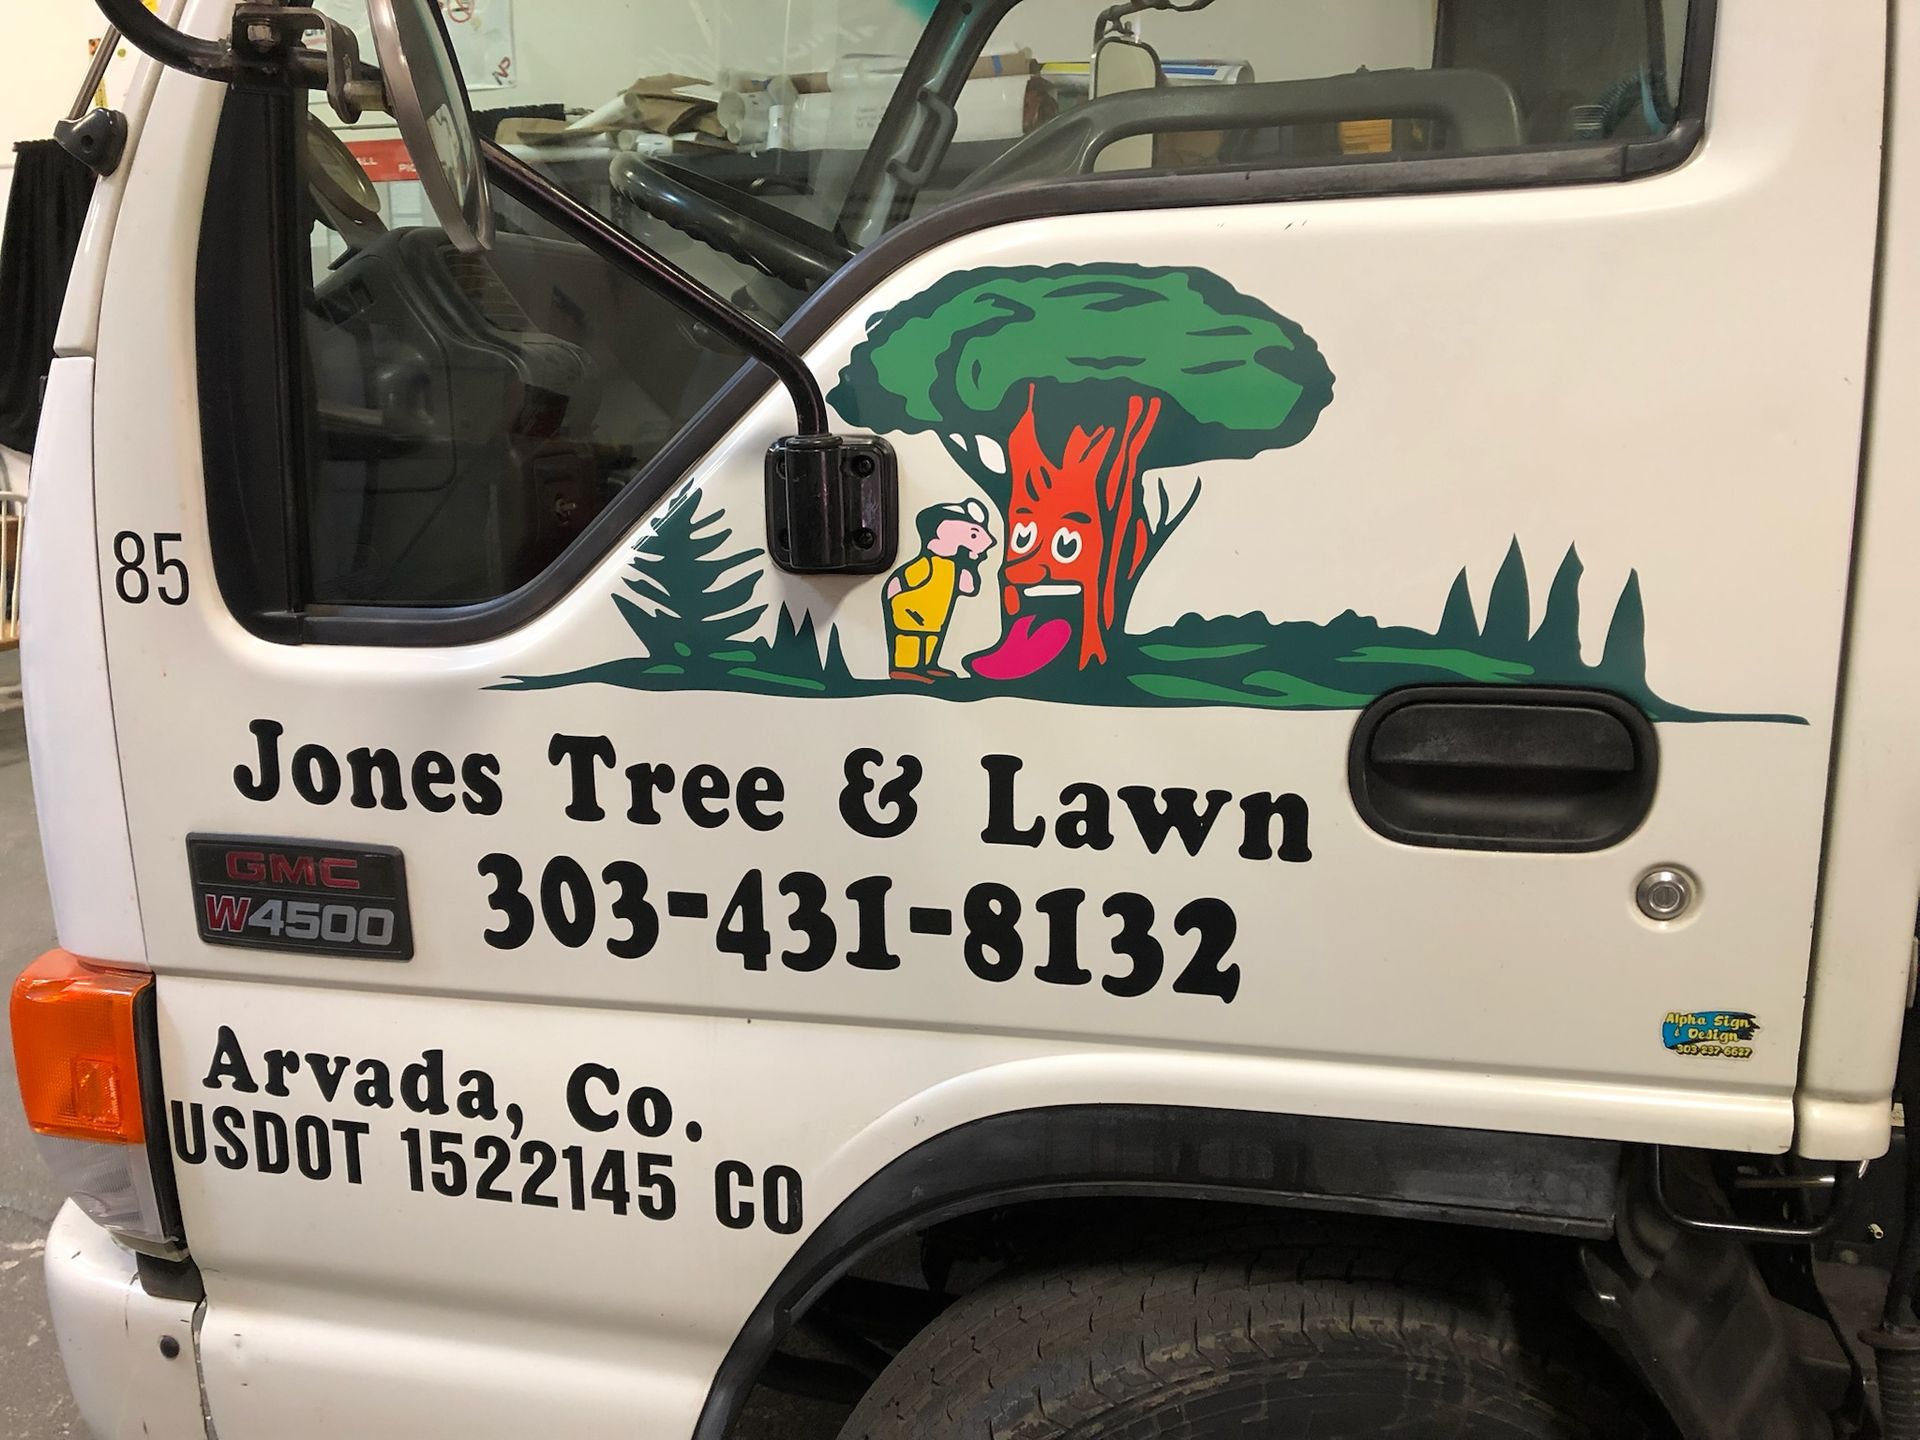
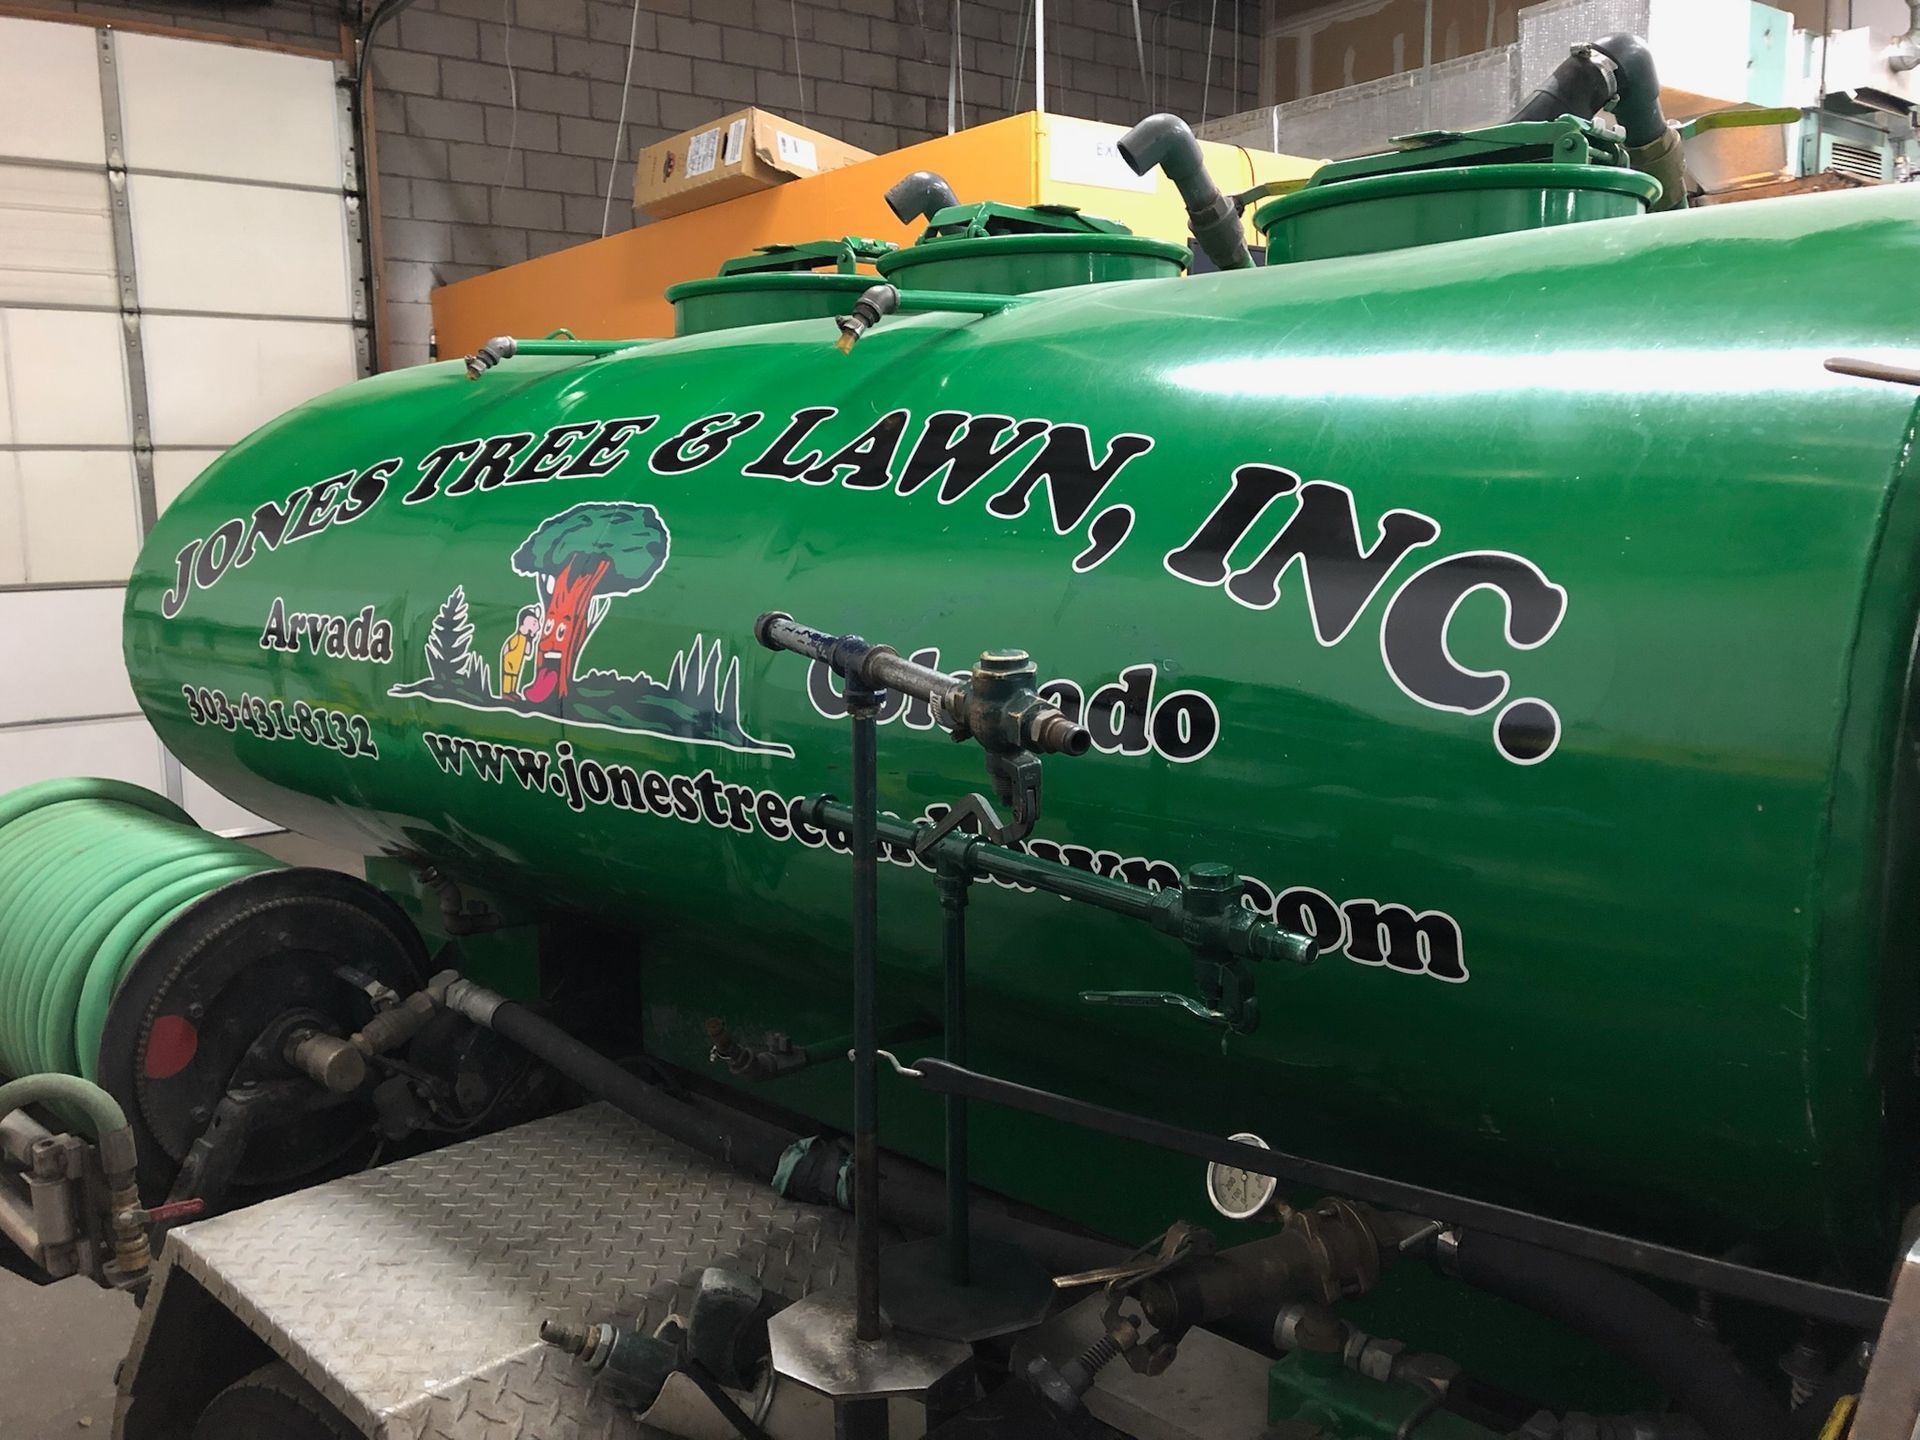
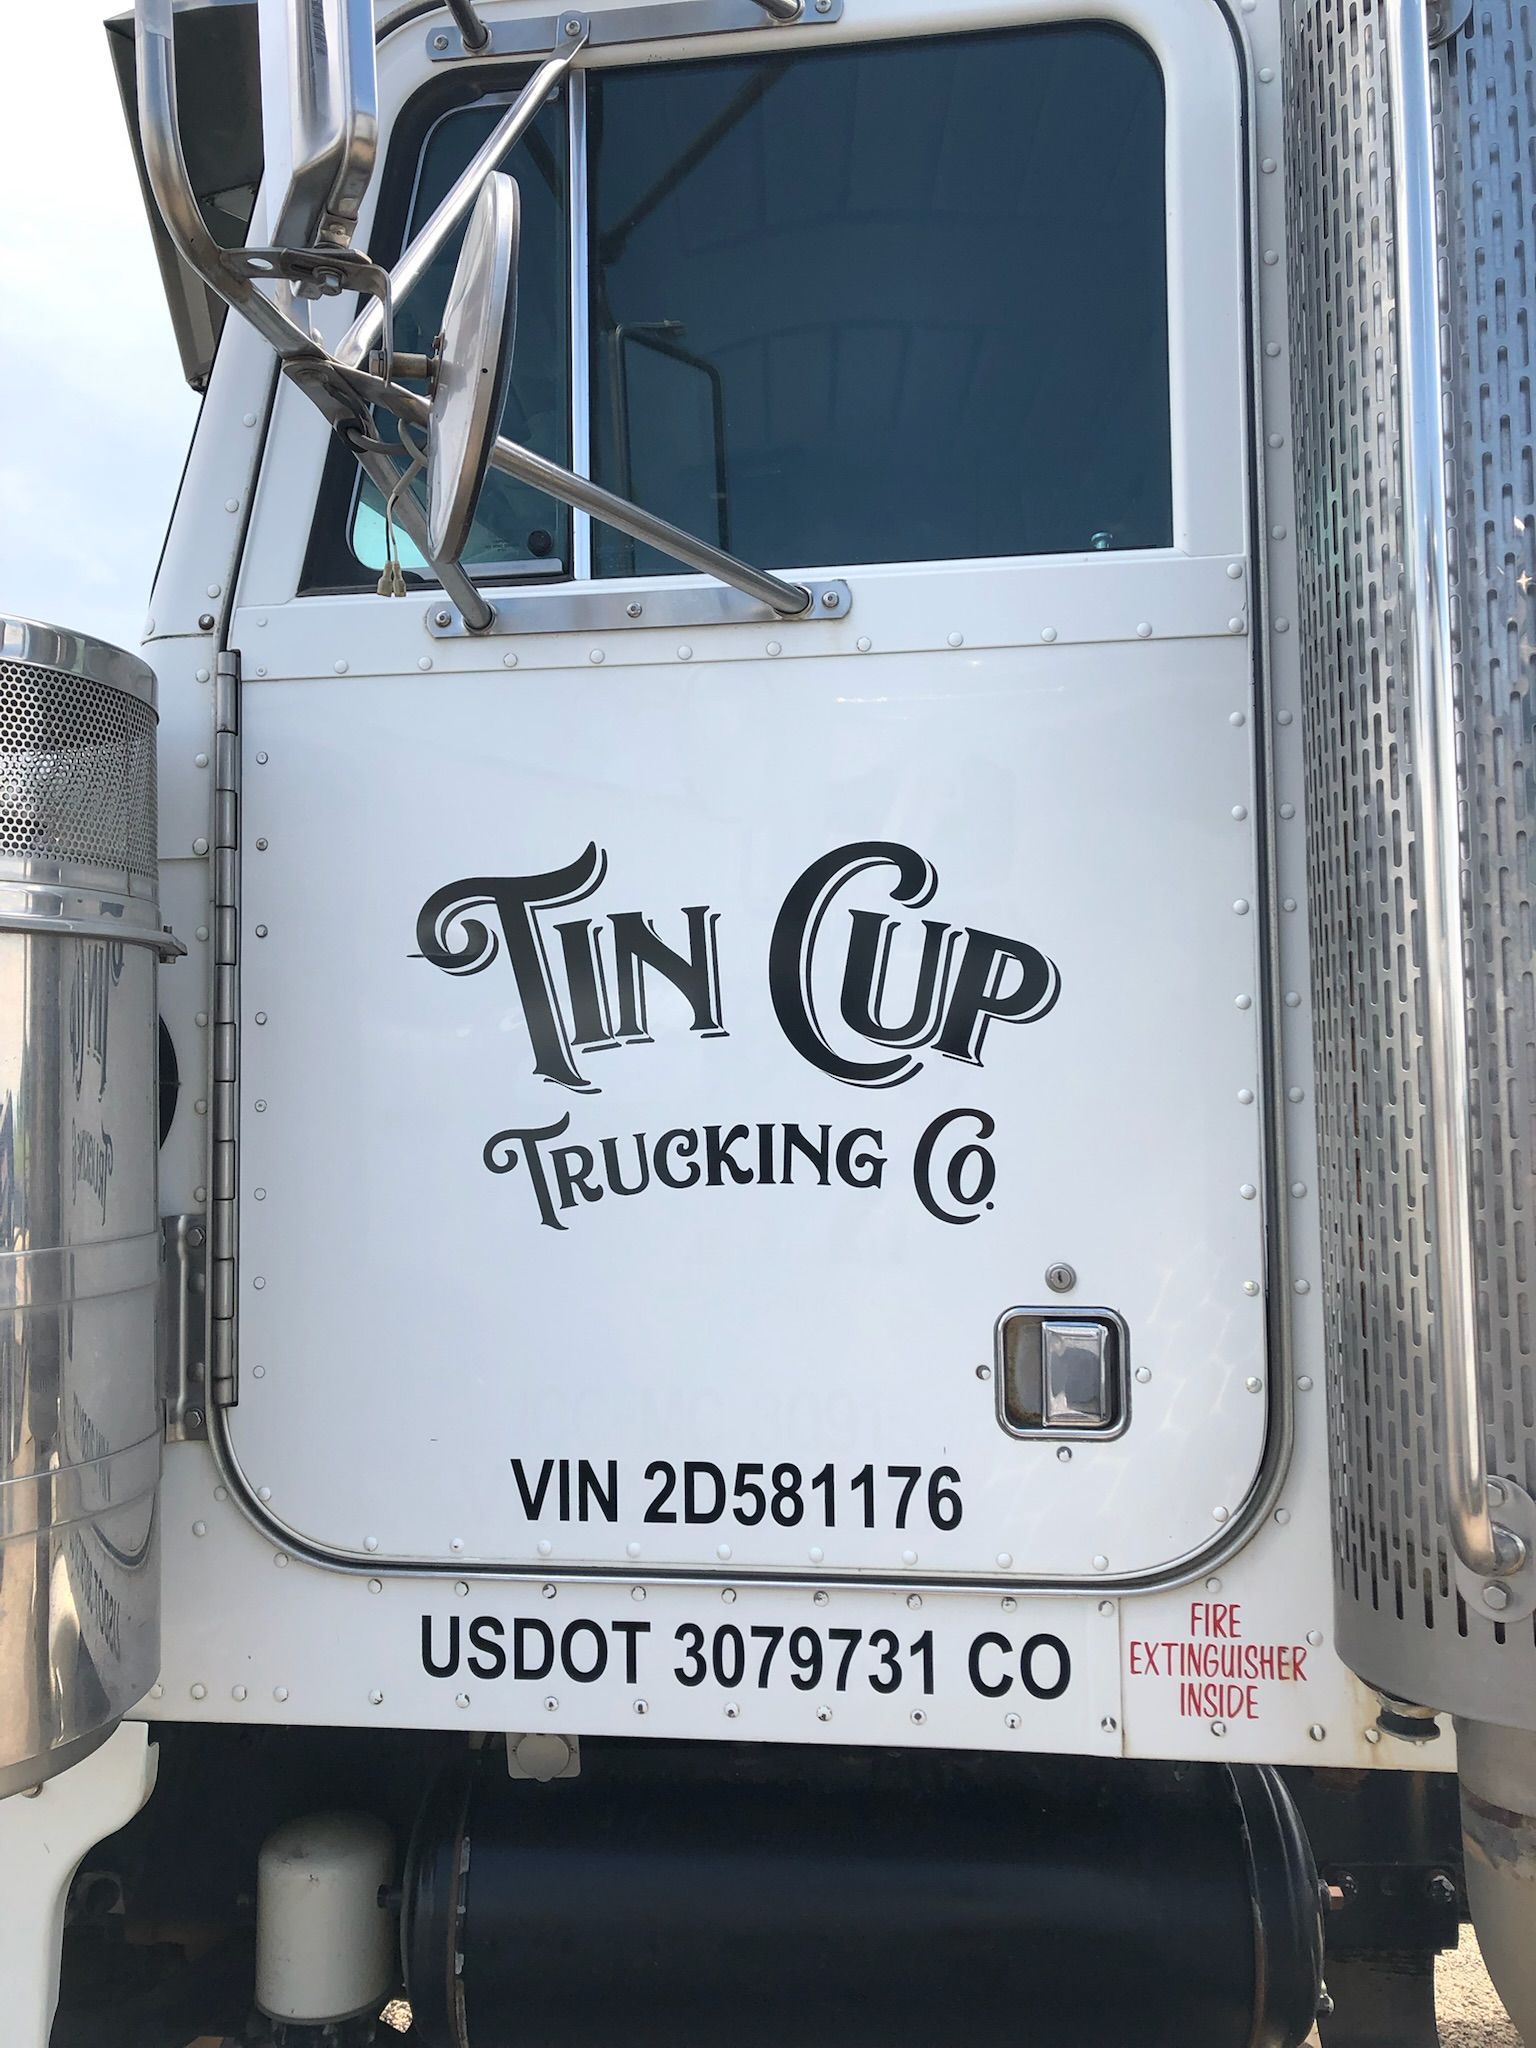
Fleet wraps are vinyl graphics or decals that are applied to vehicles to promote a brand or service. These wraps can cover part or all of the vehicle and can include logos, images, and contact information, as well as other details that represent your business. Fleet wraps serve as mobile advertisements, reaching thousands of potential customers daily as your vehicles drive through neighborhoods, business districts, and highways.
### Benefits of Fleet Wraps
1. **Increased Visibility**: Fleet wraps turn your vehicles into mobile billboards, capturing the attention of people wherever you go.
2. **Cost-Effective Marketing**: Once installed, fleet wraps require minimal maintenance and can last for several years, providing a return on investment that traditional advertising methods often can’t match.
3. **Professional Appearance**: A well-designed wrap enhances your business image, projecting professionalism and credibility.
4. **Customizable Designs**: Fleet wraps offer endless design possibilities, allowing you to tailor the graphics to reflect your brand’s personality and messaging.
## Step 1: Initial Consultation
The first step in the fleet wrap process is the initial consultation. This is where you will discuss your vision for the wrap with a professional designer or wrap specialist.
### What to Expect
- **Understanding Your Goals**: The designer will ask questions about your business, target audience, and marketing objectives. This information is crucial for creating a wrap that effectively communicates your message.
- **Budget Discussion**: You will discuss your budget for the project. Understanding your financial constraints will help the designer recommend suitable materials and design options.
- **Vehicle Selection**: Determine which vehicles in your fleet will receive wraps. Different vehicles may require different design considerations.
### Preparing for the Consultation
Before your consultation, prepare by gathering any branding materials you currently have, such as logos, color palettes, and any images you would like to incorporate. This will help the designer understand your brand better.
## Step 2: Design Phase
Once you’ve had your initial consultation, the next step is the design phase. This is where your vision starts to take shape.
### Collaborative Design Process
- **Concept Development**: The designer will create initial design concepts based on your input from the consultation. This may include layouts, color schemes, and graphics that align with your branding.
- **Feedback Loop**: You’ll have the opportunity to review the design concepts and provide feedback. It’s essential to communicate openly during this phase to ensure the final design meets your expectations.
- **Revisions**: Based on your feedback, the designer will make necessary revisions. This process may take several iterations until you’re completely satisfied with the design.
### Design Tips
- **Keep It Simple**: A cluttered design can be overwhelming. Focus on clear messaging and bold visuals that are easy to read from a distance.
- **Highlight Your Brand**: Ensure your logo and brand colors are prominent in the design. Consistency in branding helps with recognition.
- **Consider Legibility**: Use fonts that are easy to read and avoid overly decorative styles that may be difficult to decipher at a glance.
## Step 3: Final Approval
After the design has been refined and you’re happy with the final concept, it’s time for the final approval.
### What to Review
- **Proofreading**: Carefully check all text for spelling and grammatical errors. It’s easy to overlook mistakes, but they can impact your brand’s professionalism.
- **Color Accuracy**: Ensure the colors in the design match your brand’s colors. Print colors can sometimes differ from what you see on a screen.
- **Final Layout**: Review the overall layout to ensure everything is positioned correctly and looks good from all angles.
### Signing Off on the Design
Once you’ve completed your review and are satisfied with the design, you’ll sign off on it. This approval is crucial, as it indicates that you’re ready to move forward with production.
## Step 4: Production
With the design approved, it’s time for the production phase. This is where the magic happens, and your fleet wrap is created.
### Printing the Wrap
- **High-Quality Materials**: The wrap will be printed on high-quality vinyl that is designed for outdoor use. This material is durable and resistant to fading, ensuring your graphics will look great for years.
- **Printing Process**: The design is printed using state-of-the-art printers. This process ensures vibrant colors and sharp details.
- **Quality Control**: After printing, the wrap undergoes quality control checks to ensure there are no defects or issues with the graphics.
### Preparing for Application
- **Lamination**: Once printed, the vinyl may be laminated to add an extra layer of protection. Lamination helps prevent scratches and UV damage, extending the life of your wrap.
- **Trimming**: The printed vinyl is trimmed to fit the specific dimensions of your vehicles.
## Step 5: Installation
The installation phase is where the wrap is applied to the vehicle. This step requires skill and precision to ensure a flawless finish.
### Choosing the Right Installer
- **Professional Installation**: It’s crucial to have your fleet wraps installed by experienced professionals. Proper installation ensures that the wrap adheres correctly and looks as intended.
- **Clean Environment**: The installation should take place in a clean, dust-free environment to prevent debris from getting trapped under the wrap.
### Installation Process
- **Surface Preparation**: The vehicle’s surface is thoroughly cleaned and prepped to ensure optimal adhesion.
- **Applying the Wrap**: The installer carefully applies the vinyl, using tools to smooth out any bubbles or wrinkles. This process requires attention to detail to ensure a seamless look.
- **Final Inspection**: Once the wrap is applied, the installer will inspect the work to ensure everything is perfect. They’ll address any issues before handing the vehicle back to you.
## Step 6: Post-Installation Care
After your fleet wraps are installed, proper care is essential to maintain their appearance and longevity.
### Initial Care Instructions
- **Avoid Washing**: For the first week after installation, avoid washing the vehicle to allow the adhesive to set properly.
- **Avoid High Pressure**: Do not use high-pressure washers, as they can damage the vinyl.
### Routine Maintenance
- **Regular Cleaning**: Clean your fleet wraps regularly using mild soap and water. Avoid harsh chemicals and abrasive brushes that could scratch the vinyl.
- **Protective Waxing**: Consider applying a protective wax designed for vinyl wraps to enhance their shine and provide added protection against UV rays.
## Step 7: Monitoring and Maintenance
Once your fleet wraps are installed and cared for, it’s important to monitor their condition over time.
### Regular Inspections
- **Check for Damage**: Regularly inspect your wraps for signs of wear, peeling, or fading. Catching issues early can help prevent more significant problems down the line.
- **Address Repairs Promptly**: If you notice any damage, address it as soon as possible. Small repairs can often be made easily, while larger issues may require professional assistance.
## Conclusion
Investing in fleet wraps can be a game-changer for your business, significantly enhancing your brand visibility and creating a professional image. By understanding the entire fleet wrap process—from concept to completion—you can make informed decisions and ensure that your wraps serve you well for years to come.
By following the steps outlined in this guide, you can navigate the journey of designing, producing, and maintaining your fleet wraps effectively. Whether you operate a single vehicle or an entire fleet, fleet wraps are a powerful marketing tool that can help you reach new customers and grow your business in the Denver area.
With proper planning, execution, and maintenance, your fleet wraps will not only look great but will also serve as effective ambassadors for your brand on the road. Embrace the opportunity that fleet wraps provide, and watch your business thrive!

ABOUT ikonic Detailing
Founded in 2020, ikonic Detailing has grown into Wheat Ridge, Colorado’s premier vehicle restyling and paint protection destination. With cutting-edge certifications, exceptional customer care, and a wide array of services, we are here to meet all your detailing, enhancement, and paint protection needs. Contact ikonic Detailing today to experience the complete ikonic difference that we provide for all vehicle makes and models. See why so many vehicle owners trust us to protect and enhance their investment!
QUICK LINKS
FOLLOW US
BUSINESS HOURS
Mon - Fri: 10:00 AM - 5:00 PM
Sat - Sun: Closed

4880 N Robb St, Unit 9
Wheat Ridge, Colorado
80033 United States
Phone: (720) 679-1230
Email: info@ikonicdetailing.com

Designed by the team at
Detailers Roadmap, a platform developed for detailing operators across the globe.